
Introduction
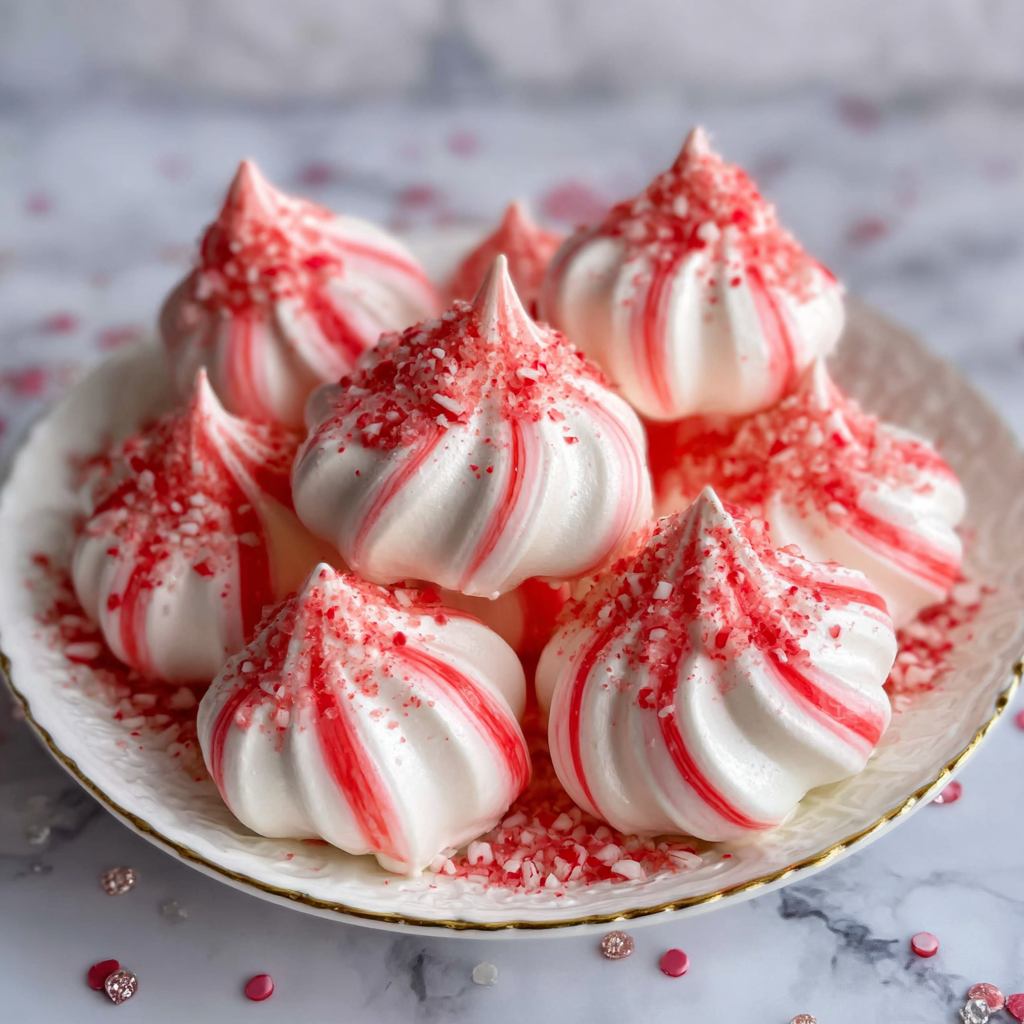
Peppermint meringues are a delightful treat that can bring a touch of whimsy to any occasion. Their light and airy texture, along with a subtle peppermint flavor, makes them a perfect festive snack or a lovely addition to dessert platters.
These delightful confections are not only visually appealing but also surprisingly simple to make. With just a few ingredients and some patience, you can create elegantly piped meringues that melt in your mouth.
Ingredients
- 4 large egg whites
Egg whites are essential for creating the structure of meringues. When whipped, they incorporate air, leading to the light, airy texture that meringues are known for. - 1 cup granulated sugar
Granulated sugar stabilizes the whipped egg whites, providing sweetness and contributing to the signature crispness of the finished meringue. - 1 teaspoon peppermint extract
Peppermint extract lends a refreshing flavor to the meringues, making them festive and aromatic. Use high-quality extract for the best results. - 1/4 teaspoon cream of tartar
Cream of tartar helps to stabilize the egg whites as they are whipped. This ensures a more stable foam and helps prevent the meringue from collapsing. - Food coloring (optional)
Food coloring can be used to enhance the visual appeal of your meringues. A few drops of red or green can create a cheerful, holiday-inspired look.
Directions & Preparation
Step 1: Preheat your oven to 200°F (93°C).
Preheating the oven is crucial because it ensures that the meringues cook at a low temperature, allowing them to dry out without browning. This low and slow methodology helps them develop their signature texture.
Step 2: In a clean mixing bowl, beat the egg whites and cream of tartar until soft peaks form.
Soft peaks signify that the egg whites are beginning to gain volume and the proteins are starting to stabilize. This initial stage is crucial for achieving the right texture in your meringues.
Step 3: Gradually add the sugar, continuing to beat until stiff peaks form and the mixture is glossy.
Adding sugar gradually helps to dissolve it completely and incorporates air properly. Stiff peaks indicate that meringue has been beaten enough to retain its shape when piped.
Step 4: Mix in the peppermint extract and any desired food coloring gently.
Adding flavor and color at this stage allows for an even distribution. Be careful not to overmix, as you don't want to deflate the meringue's structure.
Step 5: Transfer the meringue mixture to a piping bag fitted with a star tip.
Piping bags offer precision and control when shaping the meringues. A star tip creates beautiful shapes, enhancing the visual appeal of your meringues.
Step 6: Pipe the meringue onto parchment-lined baking sheets in desired shapes.
Spacing is important, as the meringues should not touch each other to allow for proper airflow. Experiment with different shapes and sizes to add variety.
Step 7: Bake in the preheated oven for 1.5 to 2 hours until dry and crisp.
Low and slow baking is vital to achieving that perfect crunch while ensuring the interior remains light and airy. Keep an eye on them to prevent over-baking.
Step 8: Turn off the oven and let the meringues cool inside for another hour.
Cooling the meringues in the oven allows them to finish setting without the risk of humidity or air exposure, which can lead to stickiness.
Step 9: Remove the meringues from the parchment and store in an airtight container.
Proper storage is essential to maintain the crispiness of the meringues. An airtight container shields them from moisture in the air.

The Science of Whipping Egg Whites
Whipping egg whites is a delicate process that relies on incorporating air, which is essential for achieving the desired texture in meringues. Adding cream of tartar initially provides stability, helping the protein structures in the egg whites to bond and trap air effectively. The gradual addition of sugar enhances this process, ensuring that the mixture stays glossy and stiff. Properly whipped egg whites are the foundation of a successful meringue.
Creative Flavor and Color Combinations
While peppermint is the classic flavor, feel free to experiment with other extracts such as vanilla, almond, or citrus. Incorporating natural colors, such as beet juice for pink or matcha powder for green, can add a unique twist. Consider creating a mix of flavors and colors for a visually striking presentation that can dazzle your guests, making your peppermint meringues stand out during the holidays.
Serving Suggestions and Pairings
Peppermint meringues make stunning standalone treats, but they can also be paired with other desserts. Serve them alongside hot cocoa for an indulgent touch or use them to embellish a chocolate mousse or pavlova. These meringues can even be crumbled over ice cream as a textural contrast. Their airy sweetness complements rich desserts beautifully, creating a well-rounded dining experience.
FAQs
What if my meringue mixture is too runny?
If your meringue is too runny, it's likely that the egg whites have not been whipped enough. Continue beating until you see stiff peaks form. It’s also important to ensure that no yolks are mixed in.
How can I make my meringue more flavorful?
To enhance flavor, you can increase the amount of peppermint extract slightly or experiment with complementary flavors such as chocolate or vanilla extract.
Can I double the recipe for a bigger batch?
Yes, you can double the recipe, but ensure that your mixing bowl is large enough to accommodate the increased volume of ingredients for proper whipping.
What should I do if I overbake the meringues?
If your meringues turn brown or taste burnt, unfortunately, they cannot be salvaged. Future batches should be monitored closely as ovens can vary in heat.
Why did my meringues turn out sticky?
Sticky meringues often result from humidity or not being baked long enough. Ensure they dry completely in the oven and store them in a cool, dry place.
Is it okay to make meringues in a humid environment?
Making meringues in a humid environment can be challenging, as moisture can interfere with their crispiness. It's advised to bake on drier days if possible.
Conclusion
Delightful peppermint meringues are an enchanting addition to any dessert table. Their lightness and festive flavor make them a joy to serve, eliciting smiles from friends and family alike.
By mastering this recipe, you open up a world of creative possibilities, allowing you to experiment with flavors and presentations. Impress your guests with these elegant confections and enjoy the sweet satisfaction of having made them yourself.
Recipe Card
Delightful Peppermint Meringues to Charm Your Guests
Ingredients
Method
- Preheat your oven to 200°F (93°C).
- In a clean mixing bowl, beat the egg whites and cream of tartar until soft peaks form.
- Gradually add the sugar, continuing to beat until stiff peaks form and the mixture is glossy.
- Mix in the peppermint extract and any desired food coloring gently.
- Transfer the meringue mixture to a piping bag fitted with a star tip.
- Pipe the meringue onto parchment-lined baking sheets in desired shapes.
- Bake in the preheated oven for 1.5 to 2 hours until dry and crisp.
- Turn off the oven and let the meringues cool inside for another hour.
- Remove the meringues from the parchment and store in an airtight container.
Notes
Additional serving suggestions: pair with a crisp salad, garlic bread, or roasted seasonal vegetables for balance.
For make-ahead, prep components separately and assemble just before heating to preserve texture.
Taste and adjust with acid (lemon/vinegar) and salt right at the end to wake up flavors.


