
Introduction
Chocolate and peanut butter is a classic combination that never ceases to impress. These Chocolate Peanut Butter Dream Bars embody that rich harmony in a delectable dessert that is both satisfying and indulgent. Perfect for gatherings or simply as a treat for yourself, these bars are easy to prepare and even easier to love.
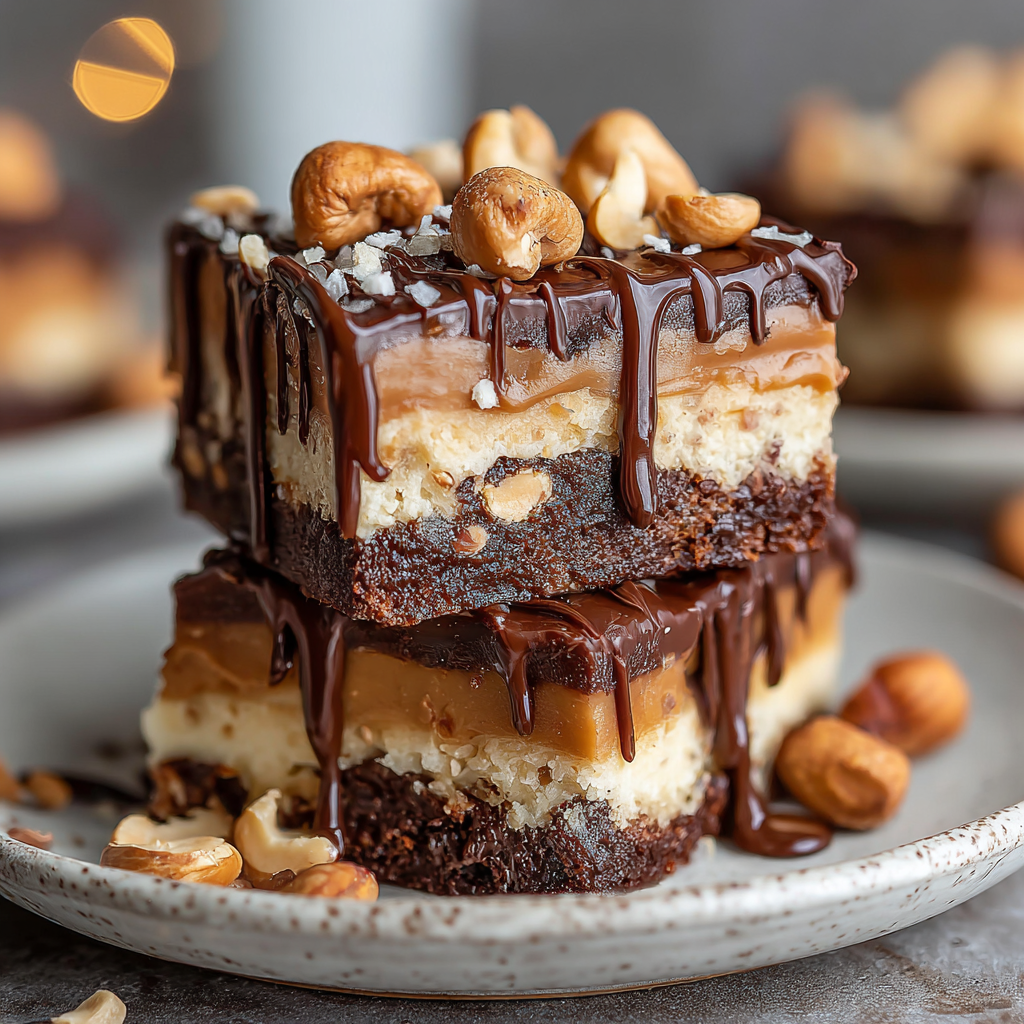
With a buttery crust, a creamy peanut butter filling, and a luscious chocolate topping, each bite offers a delightful contrast of textures and flavors. Not only are they a visual delight, but their rich, satisfying flavor profile will have your friends and family coming back for seconds. Let’s dive into this recipe that makes dessert feel like a dream!
Ingredients
- 1 ½ cups graham cracker crumbs
Graham cracker crumbs form the perfect base for these bars, providing a sweet and slightly crunchy texture. The crumbs absorb the butter, which helps bind them together and creates a sturdy crust. - ½ cup granulated sugar
Sugar adds sweetness and helps balance the flavors, enhancing the overall taste of the bars. It also contributes to the crust’s texture and lends a slight chewiness. - ½ cup unsalted butter, melted
Melted butter acts as a binding agent for the crust, ensuring that the graham cracker crumbs hold together well. It also adds richness and enhances the flavor of the bars. - 1 cup creamy peanut butter
Peanut butter makes up the filling of these bars, providing a rich, nutty flavor and a creamy, smooth texture. It's what makes these bars truly indulgent and satisfying. - 1 cup powdered sugar
Powdered sugar sweetens the peanut butter layer, while its fine texture allows for easy mixing with the peanut butter to achieve a smooth filling. - 2 cups semi-sweet chocolate chips
Chocolate chips create a decadent topping that balances the sweetness of the peanut butter. They melt beautifully, forming a shiny, rich layer on top of the bars. - 2 tablespoons coconut oil (optional)
Coconut oil smooths the melted chocolate, making it easier to pour and spread over the bars. It also adds a hint of flavor and sheen to the chocolate layer.
Directions & Preparation
Step 1: Preheat your oven to 350°F (175°C) and grease a 9×13 inch baking dish.
Preheating the oven ensures that your bars will bake uniformly and at the right temperature. Greasing the baking dish prevents the bars from sticking, making it easier to cut and serve them later.
Step 2: In a bowl, combine graham cracker crumbs, granulated sugar, and melted butter.
Mixing these ingredients thoroughly ensures that the butter coats every crumb, which is essential for a cohesive crust. This creates a flavorful base that houses the creamy filling and rich chocolate.
Step 3: Press the crumb mixture firmly into the bottom of the prepared baking dish.
A firm crust will hold together and support the layers above. Pressing it down evenly helps create a flat surface that will bake evenly, preventing any parts from becoming too crunchy.
Step 4: In a separate bowl, mix creamy peanut butter and powdered sugar until smooth.
This step is crucial for achieving a creamy filling. The powdered sugar should be fully incorporated to avoid any gritty texture, resulting in a smooth and creamy contrast to the crust.
Step 5: Spread the peanut butter mixture over the crust evenly.
Evenly spreading the filling ensures that every bite of the bar has a balanced peanut butter flavor. This layer will provide delightful creaminess that pairs with the crunchy base.
Step 6: In a saucepan, melt the chocolate chips with coconut oil over low heat, stirring constantly until smooth.
Melting the chocolate on low heat prevents burning and allows for a silky sauce. The coconut oil helps the chocolate to pour smoothly and provides a glossy finish when set.
Step 7: Pour the melted chocolate over the peanut butter layer and spread evenly.
A smooth chocolate layer not only looks gorgeous but also adds an indulgent touch to the bars. Spreading it evenly helps control the chocolate-to-peanut butter ratio in every bite.
Step 8: Chill the bars in the refrigerator for at least 2 hours before slicing.
Chilling allows all the layers to set properly, making it easier to cut neat bars. This step enhances the texture, giving the bars a firm yet creamy bite.
Step 9: Once set, slice the bars into squares and serve.
Cutting after chilling ensures cleaner edges, which adds to the presentation of the bars. These squares are perfect for sharing at parties or indulging solo, so enjoy each bite!

Perfecting the Graham Cracker Crust
The graham cracker crust is the foundation of these bars, and getting it just right can elevate the entire dessert. Ensure that you press the crumbs down firmly and evenly to avoid a crumbly mess later on. If desired, you can add a pinch of salt or cinnamon to the crust mixture for extra flavor, but the classic combo is hard to beat.
The Art of Melting Chocolate
Melting chocolate may seem straightforward, but it's crucial to do it correctly to achieve that silky finish. Always use low heat and stir constantly to prevent burning. If you prefer, you can melt the chocolate in the microwave in short intervals, stirring in between to ensure even melting. Adding a bit of coconut oil enhances both the texture and the visual appeal.
Variations to Try
While the recipe as is is a crowd-pleaser, don't hesitate to get creative. Consider adding chopped nuts for added crunch or swapping semi-sweet chocolate for dark chocolate. You could also incorporate a layer of caramel between the peanut butter and chocolate to create a richer flavor profile. These adaptations can personalize the bars further, making them uniquely yours.
FAQs
What should I do if my peanut butter filling is too thick?
If the peanut butter filling seems too thick after mixing, you can add a splash of milk or cream until you reach a smoother consistency. This will help it spread easily over the crust.
Why did my chocolate topping become dull after setting?
If the chocolate topping is dull, it might need a bit more coconut oil for shine. Make sure the chocolate is fully melted and smooth before pouring it over the peanut butter layer.
Can I adjust the sweetness of the bars?
Yes, if you find the bars too sweet, consider reducing the amount of powdered sugar in the peanut butter layer or using bittersweet chocolate instead of semi-sweet.
What if my crust crumbles when cutting?
If your crust crumbles, it may not have been pressed firmly enough. It’s important to compress the crumb mixture well before baking. You can also try slightly increasing the amount of melted butter.
Can I use crunchy peanut butter instead of creamy?
Absolutely! Crunchy peanut butter will give your bars an extra layer of texture. Just be aware that it may slightly change the smoothness of the filling.
How do I make sure the bars cut neatly?
To cut the bars neatly, use a sharp, warm knife. You can dip the knife in hot water and wipe it dry before slicing to help achieve clean edges.
Conclusion
With these Chocolate Peanut Butter Dream Bars, you have a deliciously indulgent dessert that is sure to impress. Their combination of layers creates a beautiful balance of flavor and texture, making them perfect for any occasion.
The ease of preparation means you can whip them up quickly, and the end result is a showstopper in both taste and appearance. Enjoy creating and sharing this crowd favorite; it’s a dream come true for any chocolate and peanut butter lover.
Recipe Card
Decadent Chocolate Peanut Butter Dream Bars Recipe
Ingredients
Method
- Preheat your oven to 350°F (175°C) and grease a 9x13 inch baking dish.
- In a bowl, combine graham cracker crumbs, granulated sugar, and melted butter.
- Press the crumb mixture firmly into the bottom of the prepared baking dish.
- In a separate bowl, mix creamy peanut butter and powdered sugar until smooth.
- Spread the peanut butter mixture over the crust evenly.
- In a saucepan, melt the chocolate chips with coconut oil over low heat, stirring constantly until smooth.
- Pour the melted chocolate over the peanut butter layer and spread evenly.
- Chill the bars in the refrigerator for at least 2 hours before slicing.
- Once set, slice the bars into squares and serve.
Notes
Additional serving suggestions: pair with a crisp salad, garlic bread, or roasted seasonal vegetables for balance.
For make-ahead, prep components separately and assemble just before heating to preserve texture.
Taste and adjust with acid (lemon/vinegar) and salt right at the end to wake up flavors.


