Introduction
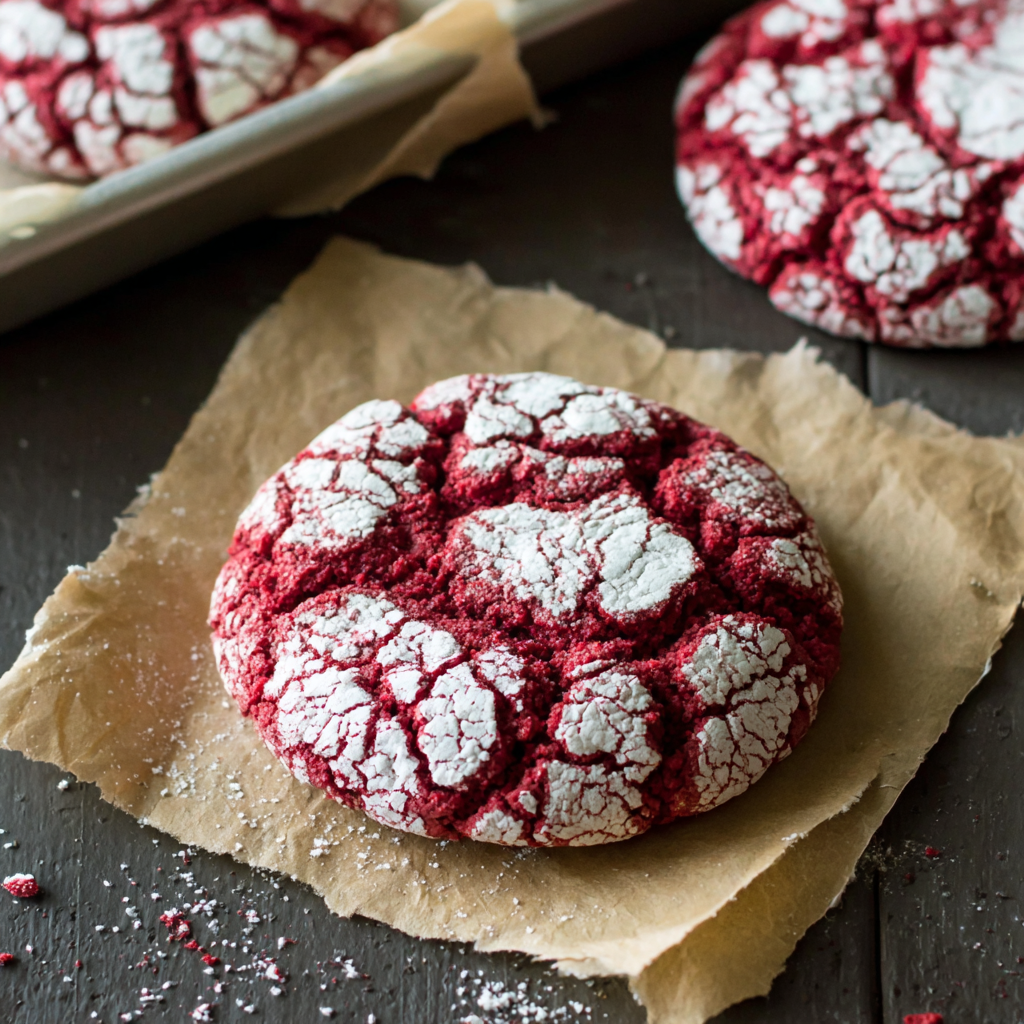
Red velvet crinkle cookies are a delightful twist on the classic red velvet cake. These vibrant treats bring together the rich flavor of cocoa and the slight tang from buttermilk, all coated in a snowy layer of powdered sugar. With their soft, chewy texture and striking appearance, they're perfect for any occasion.
The combination of chocolate and vanilla flavors makes these cookies an irresistible choice for gatherings or a special indulgence at home. Not only are they visually appealing, but they also offer a nostalgic taste that resonates with both kids and adults alike. Baking these cookies will fill your kitchen with a warm, inviting aroma.
Ingredients
- 2 cups all-purpose flour
Provides the structure of the cookies, giving them body and stability. The proteins in the flour develop gluten, which helps the cookies hold their shape. - ½ cup unsweetened cocoa powder
Adds a rich chocolate flavor and contributes to the cookies' dark color. It also helps balance the sweetness from the sugar. - 1 teaspoon baking powder
Acts as a leavening agent, causing the cookies to rise and creating a lighter texture. It's essential for achieving that classic crinkle appearance. - ½ teaspoon baking soda
Works in conjunction with the acidity of the buttermilk to create a soft, tender cookie. It also aids in the spreading of the dough during baking. - ¼ teaspoon salt
Enhances the overall flavor of the cookies by balancing the sweetness and highlighting the chocolate notes. - ¾ cup unsalted butter, softened
Provides richness and moisture, helping to create a tender cookie. Softened butter also allows for better incorporation of sugar and air. - 1 cup granulated sugar
Sweetens the cookies and contributes to their chewiness. It also aids in the texture and browning during baking. - 1 large egg
Acts as a binder, helping to hold the ingredients together while adding richness to the dough. It also contributes to the cookies' texture. - 1 teaspoon vanilla extract
Adds depth and enhances all the flavors in the cookies. Vanilla brings a warm, inviting aroma that complements the cocoa. - 2 tablespoons red food coloring
Gives the cookies their signature vibrant color. It enhances the visual appeal and makes these cookies stand out. - ½ cup powdered sugar
Used for coating the cookies after they're rolled into balls. It adds an attractive finish and a touch of sweetness. - 2 tablespoons buttermilk
Adds moisture and a slight tang to the cookies, balancing out the flavors. It also aids in the cookie's texture.
Directions & Preparation
Step 1: Preheat your oven to 350°F (175°C).
Preheating the oven is crucial as it ensures that the cookies bake evenly from the moment they are placed inside. This step also helps achieve a proper rise and prevents the cookies from spreading too much.
Step 2: In a large bowl, whisk together the flour, cocoa powder, baking powder, baking soda, and salt.
Mixing the dry ingredients first ensures they are evenly distributed throughout the dough. This step prevents clumping and facilitates a more uniform rise and texture in the finished cookies.
Step 3: In another bowl, cream the softened butter and granulated sugar until light and fluffy.
Creaming the butter and sugar incorporates air into the mixture, contributing to a lighter texture in the cookies. This process also helps dissolve sugar and begin developing a sweet, rich flavor.
Step 4: Add the egg, vanilla extract, food coloring, and buttermilk to the butter mixture and mix until combined.
Combining the wet ingredients thoroughly ensures even color distribution from the food coloring and creates an emulsion that binds the fats and liquids together, leading to a smoother dough.
Step 5: Gradually add the dry ingredients to the wet ingredients until just combined.
It's important not to overmix at this stage to avoid developing too much gluten, which could lead to tough cookies. Mixing until just combined allows for a tender and soft cookie texture.
Step 6: Cover the dough and refrigerate for 30 minutes.
Chilling the dough firms it up, making it easier to roll and helping prevent the cookies from spreading too much during baking. This step enhances the final shape and chewiness.
Step 7: Scoop tablespoon-sized portions of dough and roll them into balls.
Rolling the dough into uniform balls ensures that the cookies bake evenly. This step is crucial for maintaining consistency in size and texture, making them visually appealing.
Step 8: Roll each ball in powdered sugar until well-coated, shaking off any excess.
The powdered sugar will create the classic crinkle cookie effect as they bake and crack. This step also adds an extra layer of sweetness that complements the rich cookies.
Step 9: Place the coated dough balls on a lined baking sheet, spacing them about 2 inches apart.
Spacing is essential as it allows room for the cookies to spread while baking. Crowding them can lead to uneven baking and cookies that stick together.
Step 10: Bake in the preheated oven for 10-12 minutes, or until the edges are set but the centers are still soft.
Baking until the edges are set helps achieve a crisp outer layer, while leaving the centers slightly soft ensures that they stay chewy. Keeping an eye on them during the last few minutes helps prevent overbaking.
Step 11: Remove from the oven and let the cookies cool on the baking sheet for 5 minutes before transferring to a wire rack to cool completely.
Allowing the cookies to cool slightly on the baking sheet helps them firm up. Transferring them to a wire rack ensures that they cool evenly, preventing sogginess from trapped steam.

Understanding Food Coloring in Baking
Food coloring is often used in baking to enhance visual appeal, particularly in celebratory treats like red velvet crinkle cookies. Different food colorings have varying strengths, so it's essential to adjust the quantity according to the desired intensity. For a deeper red hue, gel or paste colors are preferable since they provide vibrant results without altering the batter's consistency significantly.
The Role of Buttermilk in Cookie Recipes
Buttermilk is a key ingredient in many cookie recipes, including red velvet crinkle cookies, as it contributes moisture and a slight tanginess that balances sweetness. The acidity in buttermilk reacts with baking soda, enhancing leavening and creating a lighter texture. Additionally, it infuses the cookies with a rich flavor profile that elevates the overall experience.
Crinkle vs. Regular Cookies: What’s the Difference?
The defining feature of crinkle cookies is their cracked surface, usually achieved through a combination of leavening agents, sugar, and rolling in powdered sugar. While regular cookies may spread evenly, crinkle cookies have a unique rise and fall, which makes them visually distinct. This texture variation contributes to their chewiness and the delightful contrast between the soft center and outer crunch.
FAQs
Why did my cookies not crinkle?
Insufficient baking soda or baking powder can prevent the required rise, leading to cookies without crinkles. Always ensure your leavening agents are fresh.
What can I do if my dough is too sticky?
If the dough is excessively sticky, you can refrigerate it for an additional 10-15 minutes. Refrigeration firms the dough, making it easier to handle.
Can I make these cookies heart-shaped?
Absolutely! You can use a cookie cutter to shape the dough balls after rolling them in powdered sugar. Just be sure to space them adequately while baking.
What if my cookies come out too dry?
Dry cookies typically result from overbaking. Keep a close watch during the last few minutes, and remove them when the edges are firm but the centers are soft.
Is there a way to adjust the sweetness level?
Yes, you can slightly reduce the sugar amount if you prefer less sweetness. However, this may also impact the cookie's texture.
How does using cold ingredients affect my cookies?
Using cold ingredients, such as butter straight from the fridge, can lead to denser cookies as it may not incorporate air as effectively during mixing.
Conclusion
Baking red velvet crinkle cookies is a rewarding experience that yields deliciously soft and flavorful treats. With their eye-catching look and delightful taste, they are sure to impress anyone who tries them.
Whether for a festive occasion or a simple dessert, these cookies provide a lovely balance of rich chocolate flavor and a charming visual element. Enjoy experimenting with this recipe and sharing the results with those you love.
Recipe Card
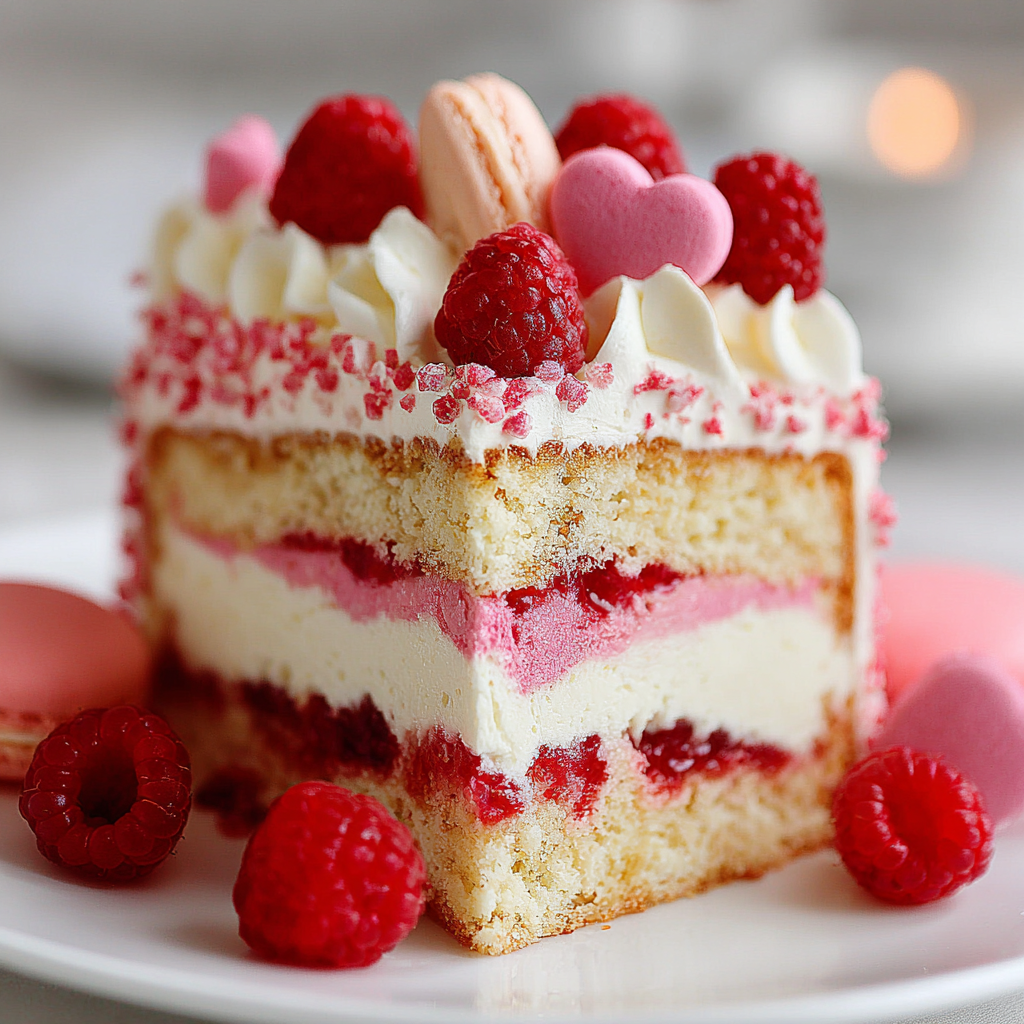
Creating a Delightful Valentine’s Day Cake at Home
Ingredients
Method
- Preheat your oven to 350°F (175°C).
- Grease and flour two 9-inch round cake pans.
- In a large bowl, cream the softened butter and sugar together until light and fluffy.
- Add the eggs one at a time, beating well after each addition.
- Stir in the vanilla extract.
- In another bowl, whisk together the flour, baking powder, and salt.
- Gradually add the dry ingredients to the butter mixture, alternating with buttermilk.
- Pour the batter evenly into the prepared pans.
- Bake in the preheated oven for 25-30 minutes or until a toothpick comes out clean.
- Allow cakes to cool in the pans for 10 minutes, then transfer to a wire rack to cool completely.
- Prepare the cream cheese frosting by beating cream cheese until smooth, then gradually add powdered sugar and milk until desired consistency is achieved.
- Assemble the cake by placing one layer on a serving plate, spreading a layer of frosting on top, then adding the second layer.
- Frost the top and sides of the cake with the remaining cream cheese frosting.
- Decorate as desired and slice to serve.
Notes
Additional serving suggestions: pair with a crisp salad, garlic bread, or roasted seasonal vegetables for balance.
For make-ahead, prep components separately and assemble just before heating to preserve texture.
Taste and adjust with acid (lemon/vinegar) and salt right at the end to wake up flavors.


