
Introduction
Heart Jam Thumbprint Cookies are a charming treat that perfectly combines buttery goodness with the sweetness of your favorite jam, all presented in a delightful heart shape. These cookies are not only visually appealing but also offer a delightful contrast of textures and flavors that make them an appealing choice for gatherings or just an indulgent afternoon snack.
Whether you're celebrating a special occasion or simply looking to add a bit of love to your daily routine, these cookies are sure to please. The process is straightforward yet rewarding, making them a wonderful project for both novice and experienced bakers alike.
Ingredients
- 1 cup unsalted butter, softened
Butter is a key ingredient that provides the cookies with a rich flavor and tender texture. Softened butter allows for better incorporation with sugars, resulting in a smoother dough. - 3/4 cup granulated sugar
Granulated sugar sweetens the cookies and contributes to their light, crispy edges. It also helps to achieve a nice spread during baking. - 1 large egg yolk
The egg yolk enriches the dough and adds moisture, contributing to a soft and tender texture. It also helps bind the dough together. - 2 1/4 cups all-purpose flour
Flour provides the structure needed for the cookies. It forms the backbone of the dough, ensuring they hold their shape while baking. - 1 teaspoon vanilla extract
Vanilla extract enhances the overall flavor profile of the cookies, adding warmth and depth that balances the sweetness. - 1/2 teaspoon salt
Salt intensifies flavor and balances the sweetness of the cookies. It also aids in the development of the dough’s structure. - 1/2 cup fruit jam (such as raspberry or strawberry)
The jam adds a burst of flavor and moisture to the cookies. Its vibrant colors also create an appealing visual contrast against the dough.
Directions & Preparation
Step 1: Preheat your oven to 350°F (175°C).
Preheating the oven is crucial for ensuring that the cookies bake evenly from the moment they enter the oven. An adequately heated oven helps the cookies rise and develop a lovely golden crust.
Step 2: In a large bowl, cream together the softened butter and granulated sugar until light and fluffy.
Creaming the butter and sugar incorporates air into the mixture, resulting in lighter cookies. Aim for a pale color and fluffy texture by mixing for about 3-5 minutes, which signifies that air has been properly integrated.
Step 3: Add the egg yolk and vanilla extract, then mix until fully combined.
Incorporating the egg yolk and vanilla at this stage ensures a uniform distribution throughout the dough, enhancing both texture and flavor. This combination also aids in emulsifying the mixture.
Step 4: In a separate bowl, whisk together the flour and salt, then gradually add to the wet mixture.
Sifting or whisking the flour with salt helps break up any lumps, ensuring an even distribution of ingredients. Gradually adding the flour allows for better control over the dough’s consistency, preventing overmixing.
Step 5: Once the dough comes together, cover it and refrigerate for 30 minutes.
Chilling the dough firms it up, making it easier to handle and shape. This step also helps prevent the cookies from spreading too much during baking.
Step 6: Roll the chilled dough into 1-inch balls and place them on a baking sheet lined with parchment paper.
Rolling the dough into uniform balls ensures even baking and helps create a consistent size for each cookie. Placing them on parchment paper prevents sticking and aids in easy cleanup.
Step 7: Use your thumb or the back of a teaspoon to create an indentation in the center of each cookie ball.
The indentation is essential for holding the jam, helping add that signature thumbprint effect. Make sure the indentation is deep enough to hold the jam but not so deep that it goes through the cookie.
Step 8: Fill each indentation with a teaspoon of your chosen jam.
Using a spoon to fill the indents with jam adds a colorful and delicious contrast to the cookie. Be sure not to overfill, as the jam may bubble over during baking.
Step 9: Bake for 12-15 minutes or until the cookies are lightly golden around the edges.
Baking until golden is crucial for achieving the right texture and flavor. Keep an eye on them during the last few minutes to avoid over-baking, which can lead to a dry cookie.
Step 10: Allow the cookies to cool on the baking sheet for a few minutes before transferring them to a wire rack.
Cooling on the sheet allows the cookies to firm up slightly before being moved, preventing breakage. Transferring to a wire rack ensures even cooling and prevents the bottoms from becoming soggy.

Choosing the Best Jam for Your Cookies
When making Heart Jam Thumbprint Cookies, the type of jam you choose can significantly influence the final flavor. Opt for quality fruit preserves that match your preferences; raspberry and strawberry are classic choices, while apricot or even lemon curd can add a unique twist. Consider the sweetness level of the jam—less sweet jams contrast nicely with the sugary dough, providing a balanced taste.
Tips for Perfect Cookie Texture
To achieve the ideal texture in your thumbprint cookies, pay close attention to the creaming process. Properly creamed butter and sugar should be fluffy and pale, creating a light texture. Similarly, ensure you're not overworking the dough when incorporating flour; overmixing can lead to toughness. Aim for a soft yet slightly sticky dough for the best results.
Decorative Variations and Additions
While these cookies shine with jam filling, consider adding a sprinkle of powdered sugar after baking for a beautiful presentation. For added flair, mix in some finely chopped nuts or chocolate chips into the dough before baking. Shape variations—like rolling the finished cookies in crushed nuts or coconut—can also contribute to different textures and flavors, making them even more enticing.
FAQs
What if my dough is too crumbly?
If your dough feels too crumbly, you may need to add a little more moisture. Consider mixing in a teaspoon or two of milk or water until the dough holds together without being overly sticky.
How do I know if my cookies are done baking?
Cookies are done when the edges are lightly golden and the centers are set but still slightly soft. They will continue to firm up as they cool, so avoid overbaking.
Can I use whole wheat flour instead of all-purpose flour?
Yes, you can substitute whole wheat flour for all-purpose flour, but it may alter the texture slightly. Whole wheat flour may result in a denser cookie, so consider mixing half of each type for balance.
What type of jam works best for these cookies?
Fruity jams like raspberry, strawberry, or apricot are popular choices for a sweet and tart filling. Feel free to experiment with other flavors that you love.
How can I fix cookies that are too thick?
If your cookies are coming out too thick, it may be due to insufficient chilling or too much flour. Ensure you're measuring the flour accurately and chilling the dough enough to firm up without drying it out.
Is there a way to make these cookies less sweet?
To reduce the sweetness, you can decrease the amount of sugar in the dough slightly and opt for a less sweet jam. Tasting the dough before baking can help adjust the sweetness to your preference.
Conclusion
Heart Jam Thumbprint Cookies are more than just a delightful treat; they embody the warmth of home baking and the joy of sharing with loved ones. Each bite offers a perfect blend of crumbly, buttery goodness and sweet, tangy fruit that’s bound to please everyone.
Whether you save them for a special occasion or enjoy them as a daily indulgence, these cookies are sure to become a favorite in your recipe repertoire. Happy baking and enjoy spreading some love through your kitchen!
Recipe Card
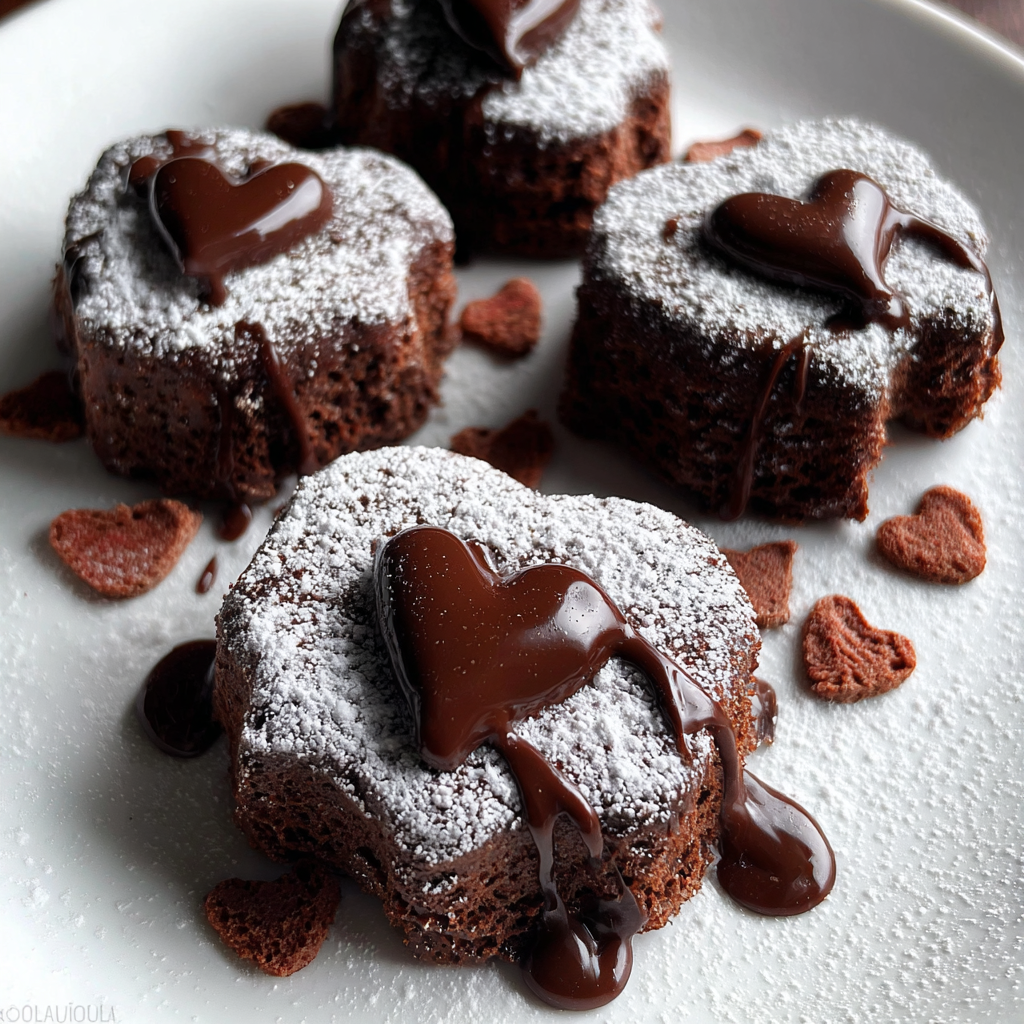
Decadent Kahlua Chocolate Cakes for Any Occasion
Ingredients
Method
- Preheat your oven to 350°F (175°C).
- Grease and flour your cake pans.
- In a large mixing bowl, sift together the flour, sugar, cocoa powder, baking powder, baking soda, and salt.
- In another bowl, cream together the softened butter and sugar until light and fluffy.
- Add the eggs one at a time, mixing well after each addition.
- Stir in the Kahlua and mix until combined.
- Gradually mix in the dry ingredients, alternating with hot water.
- Pour the batter into the prepared cake pans and smooth the tops.
- Bake for 25–30 minutes or until a toothpick inserted in the center comes out clean.
- Let the cakes cool in the pans for about 10 minutes before transferring them to a wire rack.
- Once cooled, frost with your favorite chocolate frosting or glaze as desired.
Notes
Additional serving suggestions: pair with a crisp salad, garlic bread, or roasted seasonal vegetables for balance.
For make-ahead, prep components separately and assemble just before heating to preserve texture.
Taste and adjust with acid (lemon/vinegar) and salt right at the end to wake up flavors.


