Introduction
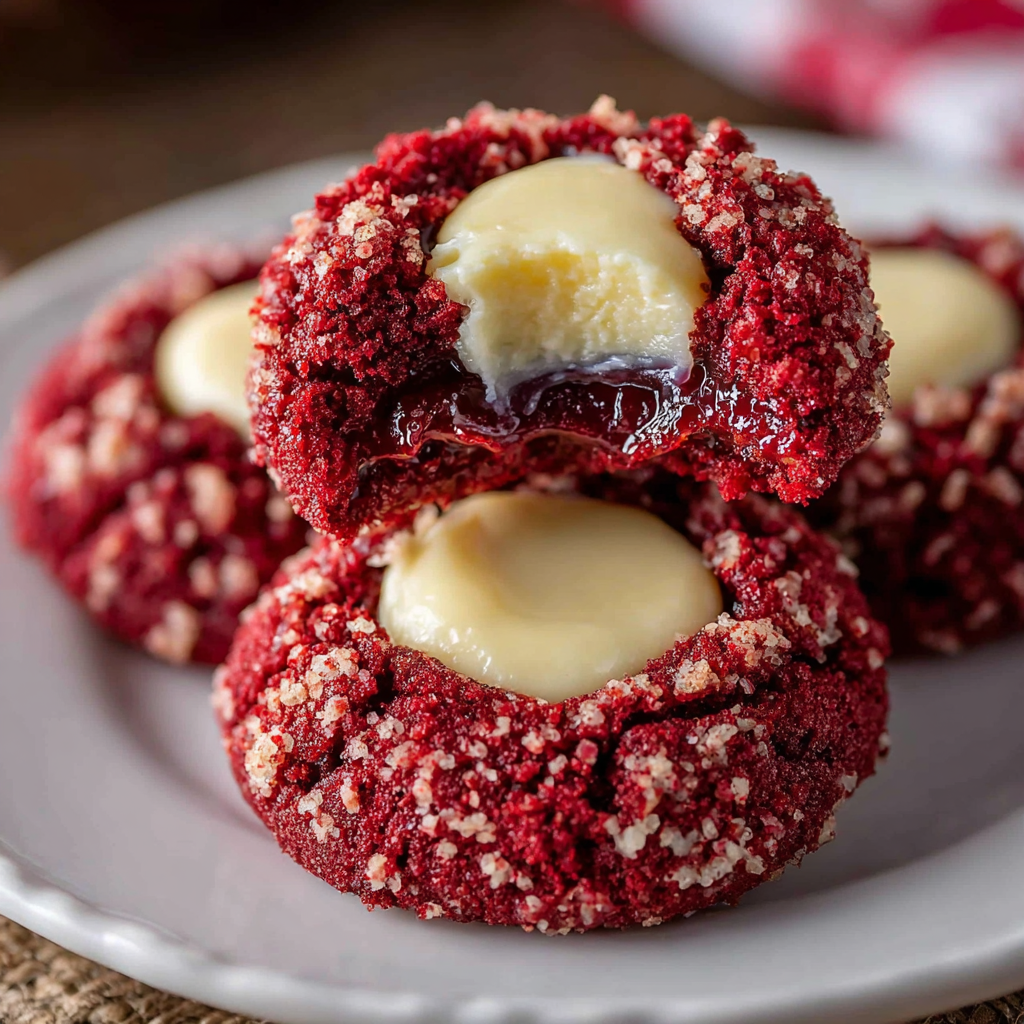
Red Velvet Thumbprint Cookies are the perfect blend of striking color and delicious flavor, making them an ideal choice for any occasion. Soft, chewy, and filled with your favorite jam, they beckon you for a bite with their vibrant hues and delectable sweetness. These cookies not only satisfy your sweet tooth but also make for an eye-catching dessert that impresses family and friends.
The process of making these cookies uniquely combines the classic flavors of red velvet cake with the charm of thumbprint cookies. The result is a delightful treat that captures the essence of celebration. Bake these cookies for holiday gatherings, birthdays, or simply as a treat to enjoy from the comfort of your home.
Ingredients
- 2 1/2 cups all-purpose flour
This flour serves as the base of the cookie, providing structure. All-purpose flour has the right balance of protein to give a chewy texture while still being soft. - 1 cup granulated sugar
Sugar not only sweetens the cookies but also contributes to their tenderness. When creamed with butter, sugar helps create an airy structure. - 1/4 cup unsweetened cocoa powder
Cocoa powder adds depth of flavor and a rich chocolate undertone to the cookies, complementing the red velvet profile. - 1 tsp baking powder
Baking powder acts as a leavening agent, helping the cookies rise slightly while keeping them soft and fluffy. - 1/2 tsp salt
Salt enhances the flavors of the other ingredients and balances the sweetness, ensuring a well-rounded taste. - 1/2 cup unsalted butter, softened
Butter is crucial for creating a rich flavor and contributes to the cookies' tender texture. Softened butter mixes easily with sugar, resulting in a smooth dough. - 1 large egg
Eggs bind the ingredients together and provide moisture. Additionally, the egg yolk contributes to the cookies' richness. - 2 tbsp red food coloring
This iconic ingredient gives the cookies their signature red hue, making them a visual delight and traditionally associated with the red velvet flavor. - 1 tsp vanilla extract
Vanilla adds a lovely aroma and enhances the overall flavor of the cookies, making them more enjoyable. - 1/2 cup jam or preserves (your choice)
The filling creates a burst of flavor in the center of the cookie, providing a delightful contrast to the soft cookie.
Directions & Preparation
Step 1: Preheat the oven to 350°F (175°C).
Preheating the oven ensures that the cookies bake evenly from the start. An adequately heated oven is crucial for the proper rise and texture of the cookies. If the oven is too cool, the cookies may spread too much, losing their defined shape.
Step 2: In a mixing bowl, cream together softened butter and sugar until light and fluffy.
Creaming incorporates air into the mixture, which helps the cookies rise during baking. Aim for a pale and fluffy texture, which usually takes about 2-3 minutes of mixing. This step is vital for achieving the desired softness in your final cookies.
Step 3: Add in the egg, food coloring, and vanilla extract; beat until well combined.
Adding wet ingredients to the creamed mixture ensures they are evenly distributed throughout the dough. This step also contributes to the color and moisture of the final cookies, making them rich and flavorful.
Step 4: In a separate bowl, whisk together the flour, cocoa powder, baking powder, and salt.
Whisking the dry ingredients helps to evenly distribute the leavening agents and cocoa, preventing clumps. This step ensures that every cookie has the same balanced flavor and texture.
Step 5: Gradually add the dry mixture to the wet ingredients, mixing until just combined.
Combining the wet and dry ingredients carefully prevents overmixing, which can lead to dense cookies. The final dough should be slightly sticky but not overly wet. This delicate balance is key to achieving a soft and chewy texture.
Step 6: Chill the dough for at least 30 minutes.
Chilling the dough firm up the butter, making it easier to shape and helping to reduce spreading during baking. This step is essential for maintaining the cookie’s shape and achieving a chewy center.
Step 7: Scoop tablespoon-sized portions of dough and roll them into balls.
This step involves handling the dough minimally to ensure the texture remains soft and tender. Rolling them into balls creates a smooth surface for a perfect thumbprint after baking.
Step 8: Place the dough balls on a lined baking sheet and make an indentation in the center of each with your thumb.
Creating a thumbprint allows space for the jam filling; be careful not to press too hard. This will help the cookies hold their shape and provide the perfect spot for the jam after baking.
Step 9: Fill each thumbprint with your chosen jam or preserves.
Adding the jam before baking infuses the cookies with flavor and moisture. Choose a jam that complements the rich chocolate notes of the cookie for the best taste experience.
Step 10: Bake for 10-12 minutes, until the edges are set but the centers are still soft.
Baking time is crucial for achieving the classic soft and chewy texture. An underbaked cookie will remain soft and may firm up as it cools. Watch them closely to avoid over-baking.
Step 11: Allow the cookies to cool on the baking sheet for 5 minutes before transferring to a wire rack.
Cooling the cookies on the baking sheet helps them set without falling apart. Transferring them to a wire rack ensures they cool evenly and remain soft.

Choosing the Right Jam for Your Cookies
The choice of jam can enhance your cookies' flavor profile wonderfully. Popular choices include raspberry or strawberry, which provide a tart contrast to the sweetness of the cookies. Experiment with different flavors to discover unique taste combinations; apricot or cherry can yield delightful results, adding a personal touch to your baking.
Tips for Achieving Perfect Red Velvet Color
To ensure your cookies have that iconic red velvet hue, use high-quality food coloring. If you prefer natural alternatives, consider beet juice, though the resulting shade may vary slightly. It's important to start with a small amount of coloring and gradually increase to achieve the desired vibrancy without compromising flavor.
Creative Variations for Your Thumbprint Cookies
While this recipe shines with traditional flavors, don't hesitate to explore creative variations. Try incorporating spices like cinnamon or nutmeg into the dough for seasonal flair. You could even switch up the fillings with Nutella or cream cheese frosting for a decadent twist, showcasing your creativity in the kitchen!
FAQs
What can I do if my cookie dough is too sticky?
If your cookie dough feels too sticky, chill it for an additional 15-30 minutes. This will help firm up the dough, making it easier to handle and shape.
Can I use a different type of jam for filling?
Absolutely! Feel free to experiment with different jams or even chocolate ganache for a different flavor twist. Just make sure the consistency allows for easy filling.
Why did my cookies spread too much during baking?
Excessive spreading often occurs due to warm dough or not enough chilling time. Ensure your dough is well-chilled before baking to maintain shape.
How can I adjust the red color if my cookies aren’t vibrant enough?
If your cookies aren’t as red as you’d like, you can add a bit more food coloring gradually. Just mix it in thoroughly to achieve an even color throughout the dough.
Can I reduce the sugar in this recipe?
While you can reduce the sugar slightly, keep in mind that it may affect the texture and moisture of the cookies. Reducing it by 1/4 cup is a safe adjustment.
What should I do if my cookies are too hard?
If your cookies turned out too hard, they may have been overbaked or too dry. Next time, ensure to bake just until the edges are set and to check your oven temperature.
Conclusion
These Soft & Chewy Red Velvet Thumbprint Cookies are a delightful combination of flavors and textures that are sure to impress. With their alluring red color and jam-filled centers, they make for a perfect treat for any occasion. Baking these cookies is not just about creating dessert; it’s about experiencing joy and love in the kitchen.
So gather your ingredients, invite a loved one, and enjoy crafting these beautiful cookies. Whether for a celebration or a casual snack, these cookies will surely bring smiles and satisfaction to all who indulge.
Recipe Card

Irresistibly Soft & Chewy Red Velvet Thumbprint Cookies
Ingredients
Method
- Preheat the oven to 350°F (175°C).
- In a mixing bowl, cream together softened butter and sugar until light and fluffy.
- Add in the egg, food coloring, and vanilla extract; beat until well combined.
- In a separate bowl, whisk together the flour, cocoa powder, baking powder, and salt.
- Gradually add the dry mixture to the wet ingredients, mixing until just combined.
- Chill the dough for at least 30 minutes.
- Scoop tablespoon-sized portions of dough and roll them into balls.
- Place the dough balls on a lined baking sheet and make an indentation in the center of each with your thumb.
- Fill each thumbprint with your chosen jam or preserves.
- Bake for 10-12 minutes, until the edges are set but the centers are still soft.
- Allow the cookies to cool on the baking sheet for 5 minutes before transferring to a wire rack.
Notes
Additional serving suggestions: pair with a crisp salad, garlic bread, or roasted seasonal vegetables for balance.
For make-ahead, prep components separately and assemble just before heating to preserve texture.
Taste and adjust with acid (lemon/vinegar) and salt right at the end to wake up flavors.


