
Introduction
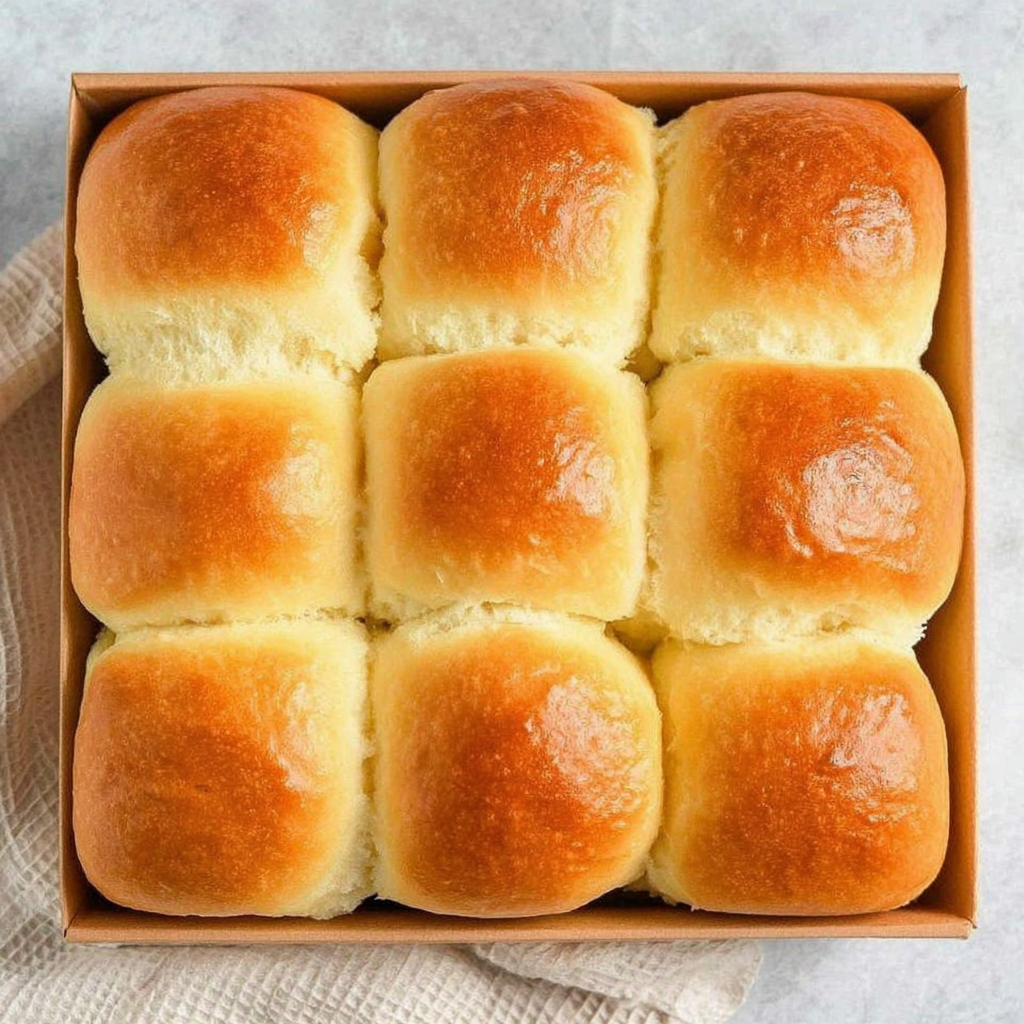
There’s something truly magical about homemade fluffy dinner rolls. Whether served alongside a comforting family meal or enjoying them fresh out of the oven, these rolls can elevate any dining experience.
Crafting dinner rolls at home allows you to enjoy warm, soft bread that’s far superior to store-bought options. The aroma fills your kitchen, creating an inviting atmosphere for your guests or family.
While some might be intimidated by the idea of baking bread, this recipe is designed to make the process easier and more rewarding. Let’s dive in and discover how to create the perfect fluffy dinner rolls.
Ingredients
- 4 cups all-purpose flour
The foundation of our dinner rolls, all-purpose flour provides the essential structure and gluten necessary for the rolls to rise and hold their shape. - 1 packet (2 1/4 teaspoons) instant yeast
Yeast is the star of the show, responsible for fermentation. Instant yeast works quickly, allowing your dough to rise faster without the need for proofing. - 1/4 cup granulated sugar
Sugar not only sweetens the rolls but also aids in activating the yeast, contributing to a tender texture and a nice golden color during baking. - 1 teaspoon salt
Salt enhances the flavor of the rolls and controls the fermentation process, ensuring the dough doesn’t rise too quickly, which could affect texture. - 1/4 cup unsalted butter, melted
Butter adds richness and flavor to the rolls. It also contributes to a softer crumb, making every bite melt in your mouth. - 1 cup warm milk (110°F)
Warm milk helps to activate the yeast and adds moisture, creating a light and fluffy texture in the rolls. - 1 large egg
Eggs enrich the dough and contribute to its structure, resulting in rolls that are both soft and airy. They also add a beautiful color to the finished product.
Directions & Preparation
Step 1: Combine dry ingredients
In a large mixing bowl, whisk together the flour, sugar, salt, and instant yeast until evenly distributed. This step is crucial as it ensures that the yeast and other ingredients are harmonized, improving the overall rise and flavor of the rolls.
Step 2: Add wet ingredients
Make a well in the center of the dry ingredients, then pour in the warm milk, melted butter, and beaten egg. Combining these ingredients stimulates enzyme activity that will help the dough develop flavor and texture. Mix until a rough dough forms.
Step 3: Knead the dough
Transfer the dough onto a lightly floured surface and knead for about 8-10 minutes. Kneading is essential as it develops gluten, enabling the dough to become elastic and airy, which is key for achieving that fluffy texture.
Step 4: First rise
Place the kneaded dough in a greased bowl, cover it with a damp cloth, and let it rise in a warm spot for about 1 hour or until doubled in size. This fermentation step allows the dough to develop flavor and texture, essential for light and airy rolls.
Step 5: Shape the rolls
Once the dough has risen, gently punch it down and transfer it to a floured surface. Divide the dough into equal pieces and shape them into smooth balls. Forming the rolls correctly not only looks appealing but also helps them rise uniformly.
Step 6: Second rise
Arrange the shaped rolls closely together in a greased baking dish, cover with a cloth, and let them rise for another 30 minutes. This second rise is crucial for achieving maximum fluffiness and lightness in the rolls.
Step 7: Preheat the oven
While your rolls complete the final rise, preheat your oven to 375°F (190°C). Proper oven temperature is vital as it influences the baking process, leading to a beautifully browned exterior and tender crumb.
Step 8: Bake
Bake the rolls for 20-25 minutes or until golden brown. Monitoring the rolls during this process can prevent overbaking, keeping them soft and fluffy. The enticing aroma will signal that they’re nearly ready.
Step 9: Cool and enjoy
Once baked, let the rolls cool in the pan for a few minutes before transferring them to a wire rack. This cooling step helps maintain their soft texture while allowing you to enjoy them fresh and warm.

The Importance of Kneading
Kneading is a fundamental step in making fluffy dinner rolls. It develops gluten, providing structure and elasticity to the dough. This process ensures that the rolls can capture the air bubbles created by yeast, resulting in a light texture. A well-kneaded dough will spring back when poked, a sign that it’s ready for the first rise.
Why a Second Rise Matters
The second rise, or proofing, is often overlooked, but it plays a crucial role in the texture and flavor of the rolls. It allows the gluten to relax and the yeast to continue working, producing carbon dioxide that expands the dough. This step not only increases volume but also enhances the overall taste of the rolls, creating a delightful softness.
Finishing Touches for Flavor
To elevate your dinner rolls, consider brushing them with melted butter as soon as they come out of the oven. This adds a rich flavor and a beautiful sheen to the rolls. Additionally, sprinkle some sea salt on top for a savory touch that contrasts with the sweet dough, creating a delightful balance that complements any meal.
FAQs
What should I do if my dough is too sticky?
If your dough feels too sticky, gradually add more flour, a tablespoon at a time, during the kneading process until it achieves a manageable consistency.
Why did my rolls turn out dense?
Dense rolls often result from insufficient kneading or not allowing the dough to rise adequately. Make sure to knead until elastic and give it enough time to double in size.
Can I use whole wheat flour instead of all-purpose?
Yes, but keep in mind that whole wheat flour absorbs more liquid. You may need to adjust the amount of liquid in your recipe to maintain the desired dough consistency.
How can I tell if my rolls are done baking?
The rolls should be golden brown on top and sound hollow when tapped on the bottom. Using an instant-read thermometer, they should reach about 190°F (88°C) internally.
What if my rolls do not rise as expected?
If the dough doesn’t rise, check the yeast's expiration date and ensure the milk isn’t too hot, which can kill the yeast. Warmer conditions can also help improve rising.
Can I add herbs or cheese for extra flavor?
Absolutely! Incorporating dried herbs, garlic powder, or cheese into the dough before the first rise can add a delightful flavor dimension to your rolls.
Conclusion
Homemade fluffy dinner rolls are a delightful addition to any meal, offering warmth and comfort with each bite. With a bit of practice and attention to detail, you can master this beloved recipe.
So roll up your sleeves, embrace the process, and enjoy the rewarding experience of baking your own rolls. There’s nothing quite like sharing these freshly baked treats with family and friends.
Recipe Card
Light and Airy Dinner Rolls Made at Home
Ingredients
Method
- Combine dry ingredients
- Add wet ingredients
- Knead the dough
- First rise
- Shape the rolls
- Second rise
- Preheat the oven
- Bake
- Cool and enjoy
Notes
Additional serving suggestions: pair with a crisp salad, garlic bread, or roasted seasonal vegetables for balance.
For make-ahead, prep components separately and assemble just before heating to preserve texture.
Taste and adjust with acid (lemon/vinegar) and salt right at the end to wake up flavors.


