Introduction
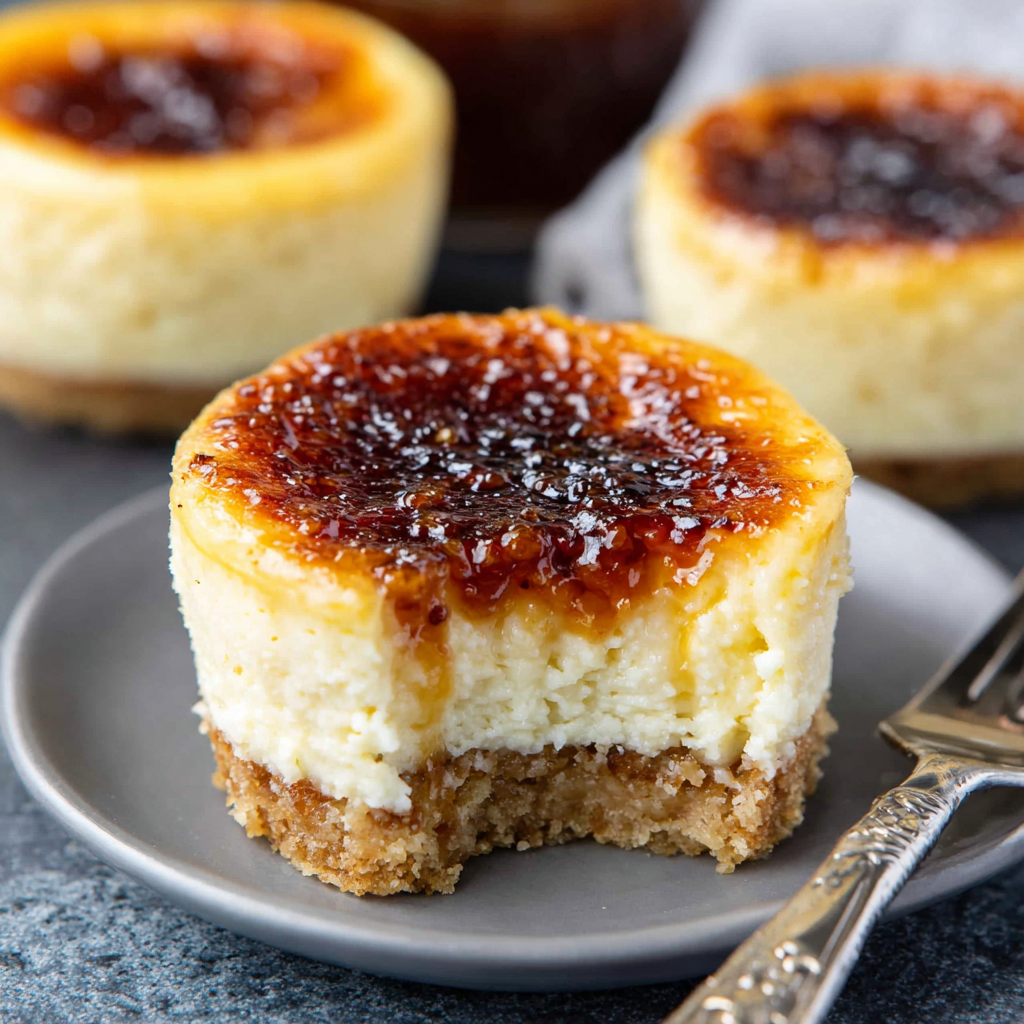
If you’re craving a delightful dessert that pairs the richness of cheesecake with the elegant touch of crème brûlée, look no further. Mini crème brûlée cheesecakes are the perfect treat for any occasion, providing a creamy filling and a caramelized topping that surprises with every bite.
These individual cheesecakes combine the classic flavors of vanilla and cream, offering a satisfying textural contrast between the smooth, custardy filling and the crisp, sugary crust. Plus, their size makes them ideal for parties, allowing guests to indulge without overindulging.
Ingredients
- 1 cup graham cracker crumbs
Graham cracker crumbs provide the foundation for the crust, offering a sweet and slightly nutty flavor that balances well with the rich filling. - 1/4 cup granulated sugar
Sugar not only sweetens the crust but also enhances its flavor and helps it hold together by providing a little binder when mixed with butter. - 5 tablespoons unsalted butter, melted
Butter adds richness to the crust and helps it achieve a golden, crispy texture once baked. - 8 oz cream cheese, softened
Cream cheese gives the cheesecake its characteristic creaminess and tang, forming the base of the dessert. - 1/2 cup granulated sugar (for filling)
This sugar sweetens the mixture, balancing the tang of the cream cheese with a smooth, sweet flavor that enhances the overall taste. - 1 teaspoon vanilla extract
Vanilla extract brings depth to the flavor profile, making the cheesecakes taste more complex and homemade. - 2 large eggs
Eggs not only help bind the cheesecake filling together but also contribute to its creamy consistency when baked. - 1/4 cup heavy cream
Heavy cream enriches the filling, making it luxurious and velvety while adding a subtle richness that's essential for a decadent dessert. - Sugar for brûlée topping (about 2 tablespoons)
This sugar will be caramelized on top of the cheesecakes, creating that iconic crème brûlée crust that's both crunchy and sweet.
Directions & Preparation
Step 1: Prepare the crust
Preheat your oven to 325°F (160°C). In a mixing bowl, combine graham cracker crumbs, granulated sugar, and melted butter. Stir until the mixture resembles wet sand. This step is crucial as it ensures the crust holds together and achieves the right texture.
Step 2: Press the crust mixture
Line a muffin tin with cupcake liners. Evenly distribute the crust mixture into the liners and press firmly to form a cohesive base. This step is essential to avoid a crumbly crust, ensuring that each cheesecake maintains its shape once baked.
Step 3: Bake the crust
Place the muffin tin in the preheated oven and bake for approximately 10 minutes, or until set and lightly browned. Baking the crust first helps it firm up, which provides a sturdy base for the cheesecake filling.
Step 4: Make the cheesecake filling
In a large mixing bowl, beat the softened cream cheese until smooth, then gradually add in the sugar and vanilla extract. This step allows the sugar to dissolve, ensuring a smooth filling that complements the crust perfectly.
Step 5: Add eggs and cream
Add the eggs one at a time, mixing well after each addition, followed by the heavy cream. Be careful not to overmix, as this can introduce too much air and create cracks in the cheesecake.
Step 6: Fill the crusts
Evenly pour the cheesecake mixture over the baked crusts, filling each well almost to the top. This ensures that each cheesecake is rich and satisfying without overflow during baking.
Step 7: Bake the cheesecakes
Return the muffin tin to the oven and bake for 20-25 minutes, until the edges are set but the centers remain slightly jiggly. This careful baking is important for creating a creamy interior while preventing overcooking.
Step 8: Cool and chill
Remove the cheesecakes from the oven and allow them to cool at room temperature for about 30 minutes before transferring to the refrigerator. Chilling them is key to developing their flavors and achieving a firm yet creamy texture.
Step 9: Brûlée the tops
Once chilled, sprinkle a thin layer of sugar over each cheesecake and use a kitchen torch to caramelize it until golden and bubbly. This step creates the signature cracked sugar crust that adds visual appeal and a wonderful texture.
Step 10: Serve and enjoy
Let the brûlée topping cool for a few minutes before serving. This dessert can be enjoyed chilled or at room temperature, making it versatile for various occasions.

The Perfect Balance of Creamy and Crunchy
In these delightful mini cheesecakes, the harmony between the creamy filling and crisp brûlée topping creates an irresistible dessert experience. The rich cream cheese filling is seamlessly complemented by the textural contrast of the caramelized sugar crust. Each bite reveals layers of flavor, showcasing not only the craftsmanship behind the dessert but also offering guests a memorable dining experience.
Serving Suggestions for Your Mini Cheesecakes
These mini crème brûlée cheesecakes are versatile enough to stand alone or pair beautifully with fresh berries or a drizzle of fruit compote. For an elevated presentation, consider serving them alongside a dollop of whipped cream and a sprig of mint. Additionally, a cup of coffee or dessert wine can enhance the flavors, making it a delightful end to any meal.
Customization Options to Explore
While the classic version is undeniably delicious, consider experimenting with flavors for a personalized touch. Incorporating citrus zest, or flavored extracts like almond or hazelnut, can create interesting twists on the traditional recipe. You can even infuse the cream with spices such as cinnamon or ginger for an unexpected yet delightful flavor enhancement.
FAQs
What can I do if my brûléed sugar didn’t caramelize?
If your sugar didn’t caramelize properly, ensure you’re using granulated sugar, and try adjusting the distance of the torch flame from the surface. Move the torch slowly to achieve an even caramelization.
Can I use a different type of cookie for the crust?
Yes, alternative cookies like digestive biscuits or Oreos can provide unique flavors and textures. Just adjust the sugar and butter amounts accordingly.
How can I tell if my cheesecakes are properly baked?
Check for a slight jiggle in the center of the cheesecakes when the baking time is nearly up; they will set as they cool. This ensures a creamy texture without being undercooked.
What should I do if my filling became too runny?
If your filling is too runny, it may be due to overmixing or not allowing the cream cheese to soften properly. Make sure to beat the cream cheese just until smooth and warm to touch before adding it to the mixture, which aids in creating the proper consistency.
Can I substitute light cream cheese for regular cream cheese?
Yes, using light cream cheese is possible but it may result in a less creamy texture and slightly different taste. The overall structure should remain intact, but for the best flavor, regular is recommended.
Why did my cheesecakes crack during baking?
Cracks often occur due to rapid temperature changes. It’s best to bake them in a water bath or allow them to cool slowly in the oven to help prevent this.
Conclusion
Mini crème brûlée cheesecakes offer a delightful blend of flavors and textures that elevate any dessert table. Their individual servings make them not only visually appealing but also easy to enjoy with friends and family.
Whether you stick to the classic recipe or explore various flavor adaptations, these cheesecakes are sure to impress your guests and leave them wanting more. Enjoy creating this delightful treat in your kitchen!
Recipe Card

Delightful Mini Crème Brûlée Cheesecakes to Impress
Ingredients
Method
- Prepare the crust
- Press the crust mixture
- Bake the crust
- Make the cheesecake filling
- Add eggs and cream
- Fill the crusts
- Bake the cheesecakes
- Cool and chill
- Brûlée the tops
- Serve and enjoy
Notes
Additional serving suggestions: pair with a crisp salad, garlic bread, or roasted seasonal vegetables for balance.
For make-ahead, prep components separately and assemble just before heating to preserve texture.
Taste and adjust with acid (lemon/vinegar) and salt right at the end to wake up flavors.


