
Introduction
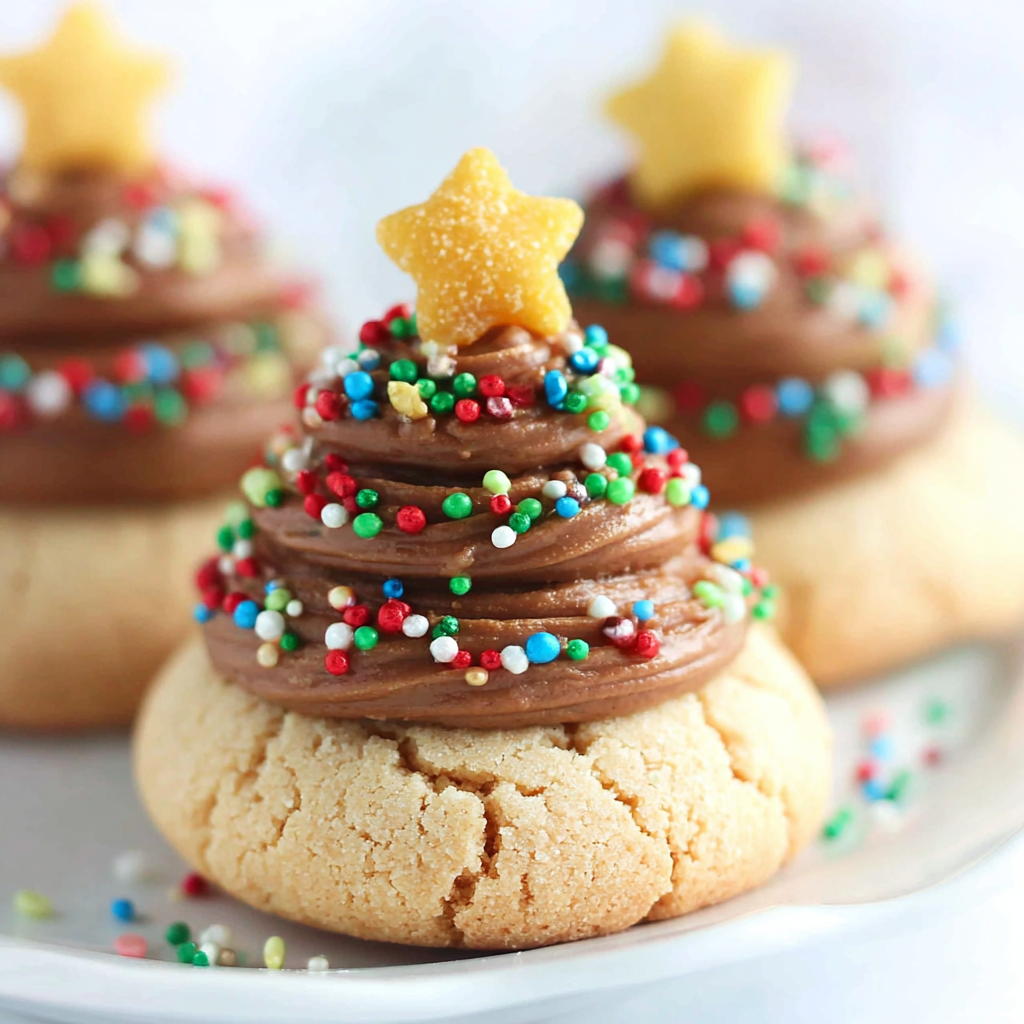
Christmas Tree Peanut Butter Blossom Cookies are not just delightful in flavor, but also visually captivating. Their festive design makes them an ideal treat for holiday gatherings, gift exchanges, or simply to enjoy with family. Each cookie embodies a whimsical blend of classic peanut butter and chocolate flavors, topped with a Hershey's Kiss that adds a sweet surprise.
The versatility of this recipe allows for creativity in decoration. You can adorn the cookies with colored sprinkles or edible glitter to resemble ornaments, transforming a simple baking session into a festive event. So roll up your sleeves and anticipate the joy these cookies will bring to your holiday celebrations.
Ingredients
- 1 cup creamy peanut butter
Peanut butter forms the base of these cookies, providing rich flavor and a chewy texture. Its natural oils keep the cookies moist while adding a nutty sweetness. - 1 cup granulated sugar
Sugar not only sweetens the dough but also contributes to the cookie's structure. It helps create a delightful crisp exterior while keeping the interior soft. - 1 cup packed brown sugar
Brown sugar adds moisture and a deeper flavor profile due to its molasses content. This gives the cookies a hint of caramel undertones and enhances their chewiness. - 2 large eggs
Eggs serve as a binding agent, helping the dough hold together while adding richness. They also contribute to the overall structure and moisture. - 2 teaspoons vanilla extract
Vanilla extract elevates the taste of these cookies, infusing them with a warm, aromatic flavor that complements the peanut butter. - 2 cups all-purpose flour
Flour provides the necessary structure for the cookies. The right amount creates a well-balanced cookie that is not too dense. - 1 teaspoon baking soda
Baking soda acts as a leavening agent, helping the cookies rise and achieve a light texture. It also enhances browning for a golden finish. - 1/2 teaspoon salt
Salt enhances the overall flavors of the cookies, bringing out the sweetness of the sugars and the nuttiness of the peanut butter. - 24 Hershey's Kisses, unwrapped
These chocolate kisses are the signature topping for the cookies, providing a sweet contrast to the savory peanut butter and adding a charming finish. - Sprinkles for decoration (optional)
Colorful sprinkles can enhance the festive appearance of the cookies, making them eye-catching and adding a fun crunch.
Directions & Preparation
Step 1: Preheat your oven to 350°F (175°C).
Preheating the oven is crucial for ensuring that your cookies bake evenly. A hot oven helps the cookies rise properly and achieves that desirable texture—crisp on the outside and chewy within.
Step 2: In a large bowl, mix peanut butter, granulated sugar, brown sugar, eggs, and vanilla until well combined.
Combining the wet ingredients first ensures that the sugars dissolve and the mixture achieves a smooth consistency. This step is key to incorporating air into the batter, which helps in creating a lighter, fluffier cookie.
Step 3: In a separate bowl, whisk together flour, baking soda, and salt.
Whisking the dry ingredients separately allows for even distribution of the baking soda and salt throughout the flour. This helps prevent clumping and ensures that every bite of cookie is perfectly balanced.
Step 4: Gradually add the dry mixture to the wet ingredients, mixing until just combined.
Be careful not to overmix the dough at this stage; overworking can lead to tougher cookies. Mixing only until the flour disappears is the goal for maintaining a tender texture.
Step 5: Scoop tablespoon-sized balls of dough and roll them into balls. Place them on a baking sheet lined with parchment paper, leaving space between each cookie.
Rolling the dough into uniform balls ensures even baking and consistent cookie size. The parchment paper prevents sticking and makes for easy cleanup.
Step 6: Bake for 10-12 minutes until the edges are golden brown but the centers are still soft.
Baking until the edges are golden while leaving the centers soft maintains the chewy texture of the cookies. They will continue to cook slightly after being removed from the oven, so don’t overbake.
Step 7: Remove from the oven and immediately press a Hershey's Kiss into the center of each cookie.
Adding the chocolate kisses right after baking allows them to melt slightly, adhering to the cookie without overcooking. This creates a delightful blend of flavors as they cool together.
Step 8: Let the cookies cool on the baking sheet for 5 minutes before transferring them to a wire rack to cool completely.
Cooling on the baking sheet allows the cookies to set and prevents them from breaking apart. This step is essential to achieving the ideal texture and structure.
Step 9: Decorate with sprinkles if desired, while the kisses are still melty.
Sprinkles will stick better to the warm chocolate kisses, adding a festive touch. This optional step allows for personalization, so feel free to get creative!

Designing Your Christmas Tree Cookies
Transform your cookies into delightful mini Christmas trees by simply adding green food coloring to your dough. After baking, decorate with edible glitter or colorful sprinkles to resemble ornaments. This fun customization allows kids and adults alike to get involved in the holiday spirit, making each cookie a unique creation!
Perfecting the Peanut Butter Flavor
To further enhance the peanut butter flavor, consider using freshly ground peanut butter if available. This not only intensifies the nuttiness but also adds a subtle complexity to the taste. Additionally, a pinch of cinnamon or nutmeg can elevate the flavor profile, offering a warm spice that pairs beautifully with chocolate.
Gifting and Sharing the Cookies
Christmas Tree Peanut Butter Blossom Cookies make for perfect gifts during the holiday season. Pack them in decorative tins or boxes lined with festive tissue paper for a personal touch. Sharing these cookies with friends and family encapsulates the spirit of giving, creating memories that will last well beyond the holidays.
FAQs
What if my dough is too thick?
If your dough is too thick, it could be due to the flour measurement being off. Add a tablespoon of peanut butter or a teaspoon of milk to loosen it up. Mix well and re-check the consistency.
Can I use another type of nut butter?
Yes, you can substitute peanut butter with almond butter or cashew butter for a different flavor. Just keep in mind the taste and texture may vary slightly.
Why did my cookies spread too much?
Overmixing the dough can cause excessive spreading. Ensure you mix just until combined. Additionally, check your oven temperature; if it's too hot, consider using an oven thermometer.
What can I do if my cookies taste bland?
If the cookies taste bland, consider adding a pinch more salt or vanilla. Flavor balancing is essential; don't shy away from tweaking until it fits your palate.
Why do my kisses slide off the cookies?
If the kisses slide off, it may be because they weren’t melted slightly into the warm cookie during baking. Be sure to press them firmly and let the cookies cool briefly to set.
How can I enhance the chocolate flavor?
To enhance the chocolate flavor, consider using dark chocolate kisses instead of milk chocolate, or sprinkle cocoa powder into the dough for an extra chocolatey impact.
Conclusion
Baking Christmas Tree Peanut Butter Blossom Cookies is a heartfelt way to celebrate the holiday season. Each cookie not only fills the home with an irresistible aroma but also creates opportunities for joy and connection with others. As you decorate and share these delightful treats, you’ll weave magical moments into the fabric of your holiday traditions.
So gather your ingredients, invite loved ones into your kitchen, and embark on this delicious holiday adventure. With a little creativity, these cookies can be as unique as the memories they help you create.
Recipe Card
Celebrate the Holidays with Christmas Tree Cookies
Ingredients
Method
- Preheat your oven to 350°F (175°C).
- In a large bowl, mix peanut butter, granulated sugar, brown sugar, eggs, and vanilla until well combined.
- In a separate bowl, whisk together flour, baking soda, and salt.
- Gradually add the dry mixture to the wet ingredients, mixing until just combined.
- Scoop tablespoon-sized balls of dough and roll them into balls. Place them on a baking sheet lined with parchment paper, leaving space between each cookie.
- Bake for 10-12 minutes until the edges are golden brown but the centers are still soft.
- Remove from the oven and immediately press a Hershey's Kiss into the center of each cookie.
- Let the cookies cool on the baking sheet for 5 minutes before transferring them to a wire rack to cool completely.
- Decorate with sprinkles if desired, while the kisses are still melty.
Notes
Additional serving suggestions: pair with a crisp salad, garlic bread, or roasted seasonal vegetables for balance.
For make-ahead, prep components separately and assemble just before heating to preserve texture.
Taste and adjust with acid (lemon/vinegar) and salt right at the end to wake up flavors.


